
Moss grows on nearly every kind of UK roof: concrete and clay tiles, natural slate, shingles and flat roof coverings. The safe method is the same in principle, take the bulk off gently and then treat what is left, but the margin for error changes completely with the material. Slate is the least forgiving of the lot, which is why it gets the most detail below.
Why moss on a roof is a bigger deal than people think
Moss does three annoying things at once, whatever the roof is covered with:
- Holds water on the roof longer, which keeps everything damp and encourages more growth.
- Creeps under edges, which can lift tiles or slates slightly and expose nail holes or weak spots.
- Blocks gutters and valleys, causing overflow, staining, and damp issues lower down.
If you have a small patch, it might just be cosmetic. If you have thick growth, especially in valleys, around chimneys, or on north-facing slopes, that is where problems start, and where our careful roof moss removal protects the covering rather than scouring it.
Key takeaways
- Never pressure wash a roof. It strips the weathered surface, cracks slates, loosens fixings and forces water under the covering.
- Remove the bulk gently by hand on a dry day, working top to bottom, then apply a roof biocide to kill spores and slow regrowth.
- Slate is the most fragile covering and shingles are next, so both need soft brushing and treatment rather than force.
- Always clear gutters and valleys, otherwise damp problems appear lower down even when the roof looks clean.
- If you would need to walk the roof, or tiles are already slipped, it is a job for a professional, not a DIY clean.
Why moss grows on roofs in the first place
Moss likes damp, shade, and a surface it can cling to. Most UK roofs offer at least one of those, and plenty offer all three.
The usual causes are:
- Overhanging trees blocking sunlight
- North-facing slopes that dry slowly after rain
- Blocked gutters causing water to back up
- Old or porous tiles that stay damp for longer
- Poor loft ventilation leaving moisture lingering
If your roof stays wet for longer than it should, moss gets comfortable. That is why two or three roofs on a street go green while the rest stay clear.
What moss actually does to a roof over time
It holds moisture where you do not want it
Moss holds water against tiles and slates like a sponge. That water works into small gaps, then expands when it freezes in winter, which cracks tiles and loosens fixings. By spring the damage is often already done, you just cannot see it from the ground yet.
It shortens the life of the roof
As moss thickens it lifts tile and slate edges. Once water tracks underneath the covering you are no longer dealing with a surface problem, because the underlay, battens and roof timbers are next in line. That is the point where it stops being a clean and becomes a job for our roof repair team.
It can cost you on heating
If moss and blocked drainage contribute to damp in the loft, the insulation gets wet. Wet insulation performs badly, and that tends to show up on heating bills long before it shows up as a leak.
First, check if you actually need to remove it
Not every bit of moss needs immediate action. You need to be honest about what you’re looking at.
Usually OK to monitor (for now):
- Light moss dusting, no thick mats
- No blocked gutters, no pooling, no overflow marks
- No signs of slipped tiles or slates, and no staining inside
Worth dealing with sooner:
- Thick “carpet” moss you can grab with your hand
- Moss packed into valleys or behind chimneys
- Gutters filling fast, water spilling over after rain
- Tiles or slates starting to look uneven or lifted
- You’re seeing damp patches, mould, or water marks inside
Whatever you decide, look the roof over properly before you touch it. Not just for moss, but for cracked and slipped pieces, tired flashings and leadwork, and gutters that are already blocked. Cleaning a failing roof does not fix it, it exposes it.
If you’re already seeing leaks or slipped tiles, stop thinking “cleaning” and start thinking “repair”. At that point our roof repair specialists need to look at it, because cleaning won’t fix a roof that’s already failing.
What not to do (because this is where roofs get wrecked)
If you only take one thing from this guide, take this.
Do not pressure wash the roof
Pressure washing is the fastest way to turn “moss removal” into “why is my ceiling dripping”. It can:
- Crack slates and tiles
- Dislodge them and loosen fixings
- Force water underneath the covering
- Damage flashings and leadwork
- Strip the weathered surface, making moss return quicker
We see the aftermath of this regularly. Someone saves money on a quick blast, then pays for broken slates, slipped tiles and water in the roof space. If you are tempted, be honest about what you are chasing. It is a quick before-and-after photo, not a long-term result.
Do not scrape aggressively with random tools
A hoe, trowel, or metal scraper used with force will chip edges and snap slates. The damage is rarely obvious from the ground, but you’ll pay for it later.
Do not pour strong bleach everywhere
Bleach can run into gutters, kill plants, stain surfaces, and it still doesn’t solve the main issue unless you kill spores properly and prevent regrowth.
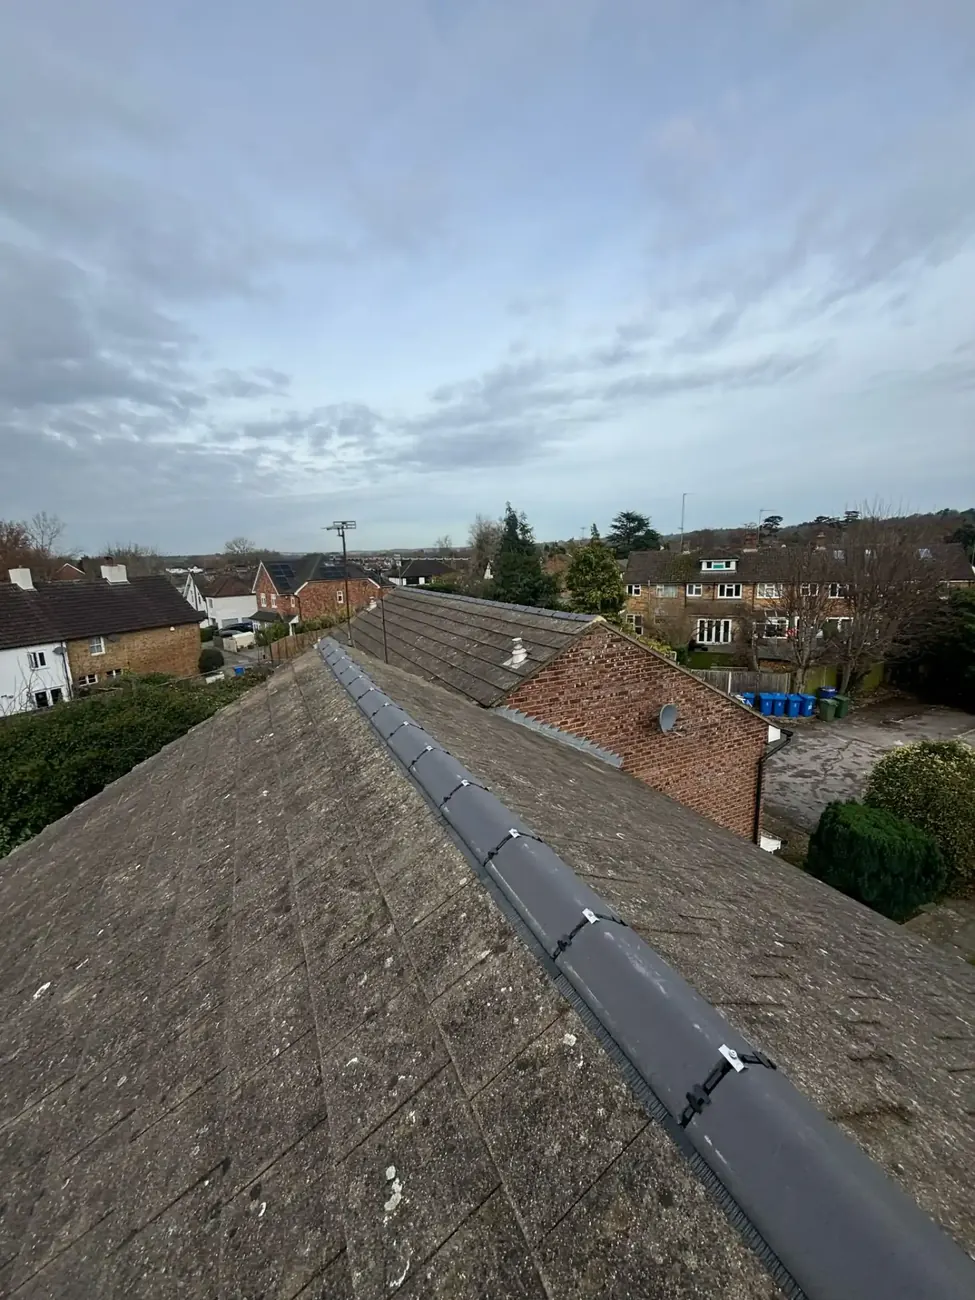
The safest DIY method: light manual removal, then treatment
If you’re doing this yourself, the goal is remove the bulk gently, then treat what’s left so it dies off and washes away over time.
What you need before you start
- Soft-bristled brush, ideally on an extendable pole
- Plastic scraper, or a roof scraper designed for tiles
- Roof-safe moss killer or biocide
- Garden sprayer and a garden hose
- Stable ladder with a stabiliser or standoff, so you are not resting weight on the gutters
- Non-slip footwear, gloves and eye protection
If you do not have that kit, you are more likely to damage the roof than clean it.
Step 1: Safety, access, and setup
Be blunt with yourself here. A pitched roof is not a “just hop up there” job, and slate least of all.
- Use a solid ladder and have someone footing it.
- Wear grippy footwear, gloves and eye protection.
- Avoid stepping directly on the covering if you can. Slate in particular cracks under point loads.
- If you cannot reach safely from a ladder or window, don’t push it.
If you need to walk the roof, you’re already in “call a professional” territory. Moss removal is not worth a fall.
Step 2: Pick the right day
Choose a dry, calm day. Moss is less slippery when it is dry, wind makes ladder work dangerous and blows treatment where you do not want it, and strong sun is no help either because some products dry before they have done anything.
What you want is a dry roof surface, a mild temperature, and no rain forecast for several hours, or for as long as the treatment instructions say.
Step 3: Check and clear the gutters first
Do this before you start scraping, not after. If the gutters are already blocked, everything you dislodge goes straight into a system that cannot cope.
- Scoop out moss, leaves and sludge by hand.
- Check the downpipes are running free.
- Look for overflow marks on the fascia boards, which tell you water has been backing up.
- Clear any valley sections you can safely reach.
Then check them again once the roof is done, because a fair amount of what you remove ends up in there. You can clean the roof perfectly and still get damp problems lower down if the gutters stay blocked.
Step 4: Remove the heavy moss gently
- Wet the moss lightly first. It loosens the growth and stops spores blowing across the rest of the roof while you work.
- Use a soft to medium stiff brush or a plastic or tile-safe roof scraper, ideally on an extendable pole.
- Work top to bottom so you’re not lifting the covering against its overlap.
- Work in small sections and let the tool do the work. Light pressure, no digging into edges.
- Collect or bag what you can rather than letting it all wash into the gutters.
- If it won’t come off easily, leave it for the treatment stage.
Your job here is bulk removal, not making the roof look brand new in one go.
Step 5: Apply a proper biocide treatment (not pressure)
A roof biocide is designed to kill moss and spores so it doesn’t grow straight back. Manual removal on its own always leaves spores sitting in the overlaps, which is why some roofs look great for a month and then start going green again.
- Cover plants and ponds below first, because run-off kills them.
- Apply evenly using a low-pressure garden sprayer.
- Follow the product instructions properly, don’t “guess the mix”.
- Leave it the recommended time to work.
- Avoid rinsing with pressure. In most cases, rain does the rest over time.
Expect the roof to improve gradually over weeks, not instantly. That’s normal.
Step 6: Rinse gently, and only if the product needs it
Some treatments need rinsing off, most do not. If yours does, use a garden hose at low pressure and nothing stronger. Anything with force behind it risks pushing water underneath the covering, which is the exact problem you were trying to avoid in the first place.
Different roof coverings need different handling
The method above works across the board, but how much force the roof will tolerate changes completely with the material.
Slate: the least forgiving covering there is
Slate lasts decades, but it is brittle, expensive to repair and awkward to match when pieces break. That is why good roofers do not go at it like they are cleaning a patio.
On slate specifically:
- Never pressure wash it. It cracks slates, loosens fixings, damages flashings and forces water into the roof space.
- Never scrape upwards against the overlap. Work down the slope, gently, and let the treatment deal with anything stubborn.
- Do not walk on it. Slates crack under foot and slip once disturbed, and even if you do not fall you can cause damage that costs more than the clean.
- Older slate, thin weathered slate and steep pitches are not DIY territory at all.
- Check for cracked slates, slipped slates and tired leadwork before anything touches the roof.
Concrete and clay tiles
Tiles put up with a bit more than slate, but the principle does not change. Use a plastic scraper or stiff brush, work from the ridge downwards, and keep the pressure light. Older or porous tiles hold damp for longer and crack more easily, so treat those with the same care you would give slate.
Shingles
Shingles are more vulnerable than tiles because they rely on a protective surface layer to keep water out. Once that layer is worn away, the material underneath deteriorates much faster. Soft brushing only, and let the treatment do more of the work than the brush. If the shingles already look worn or brittle, get them checked before touching them, because even careful cleaning can make things worse.
Flat roofs
Moss on a flat roof is less obvious but it still causes problems. It holds moisture on the surface and speeds up wear on felt and membrane systems, which eventually shows up as cracks and leaks. Flat roofs are easier and safer to reach, but they fail faster when they are ignored. Lift moss off gently and never scrape at the membrane. Standing water or visible surface damage is a repair conversation, not a cleaning one.
What about vinegar, bleach and shop-bought moss killers?
Used properly, a roof-safe biocide kills remaining spores and keeps the roof cleaner for far longer. Used badly, chemicals stain masonry, kill plants, damage patios and cause run-off problems in the drainage. This is where a lot of online advice falls apart, because someone swears by whatever they found in the shed.
Vinegar
A diluted vinegar mix gets used as a DIY option. It is not consistent, and the run-off can still harm plants. If you use it, keep it controlled and do not over-apply.
Oxygen bleach
Generally safer than chlorine bleach and it can be effective, but it needs proper dilution and careful handling. It is not a magic fix and it does not replace a roof-safe biocide if regrowth is the real problem.
Why professionals remove roof moss by hand
Hand removal takes longer than blasting a roof, and that is exactly why it is worth paying for. It protects the covering, and the result lasts because the roof gets treated rather than just stripped.
A proper roof-safe clean usually means:
- Hand removal, controlled and careful
- Protecting ridges, valleys, and flashings
- Cleaning gutters properly, not just “making the roof look nice”
- Treating with biocide so it stays clean longer
- Checking the roof over while the access is already up, so early damage gets spotted
If someone offers to blast it clean in an hour with a pressure washer, that’s not a bargain, that’s a future leak.
When is the best time of year to do it?
Spring, in most cases. It falls straight after the season that causes the most buildup, and it lands in the conditions that suit the work best.
Why spring usually wins
Winter leaves moss, algae, leaves and trapped moisture sitting on the roof and packed into the gutters. Spring is the point where all of that becomes visible but is still manageable. It also brings milder temperatures, more daylight, better drying conditions and far safer working conditions than winter.
Clearing it in spring also means the moss is less likely to thrive through the warmer months and build straight back up by the end of the year. There is a second benefit too: once the roof is clean you can actually see its condition, so cracked or slipped tiles, damaged flashing and blocked valleys turn up early rather than as a leak in November.
Why not winter
Roofs are colder, wetter and considerably more dangerous to work on. Treatments take longer to work, and poor drying conditions reduce how well they perform.
Why not the middle of summer
Very hot days cause the opposite problem. Cleaning solutions can dry too quickly to do their job, roof surfaces get uncomfortably hot to work on, and roof cleaners are at their busiest, so you wait longer for a slot.
Autumn or spring?
Both have their place. Autumn clearing gets leaves and debris off before winter. Spring cleaning deals with the aftermath of winter and lets you inspect the roof in improving weather. Put simply, autumn prepares for winter and spring recovers from it. If you are looking at visible moss, staining or blocked gutters right now, spring is the more practical time to act.
How often does it need doing?
That depends on the roof and what surrounds it. Homes near trees, in shade, or on damp plots need attention more often than a roof with good sun and airflow. As a rough guide, heavy buildup needs more regular treatment, moderate buildup may only need cleaning every few years, and a treated roof in good condition can go longer between cleans. Most roofs are worth a proper look once a year.
The point is not to wait until it looks terrible. Buildup is cheaper and easier to deal with early.
How to stop moss coming back
You can remove moss, but if you don’t fix the conditions that caused it, it returns.
Reduce shade and damp
- Trim back overhanging branches.
- Improve airflow around the roofline where possible.
Keep drainage clear
- Clean gutters regularly, especially autumn and winter.
- Check valleys after storms.
Fit zinc or copper strips at the ridge
These help reduce regrowth because rainwater carries trace particles down the roof surface, making it harder for moss to thrive. It’s not magic, but it’s a solid long-term move, especially on shaded roofs.
Treat before it becomes a problem
A light biocide treatment every so often is cheaper than waiting for thick growth that needs heavy removal.
Check it a few times a year
Quick checks after storms, in late autumn once the leaves have dropped, and again in spring when growth starts up. Spotting a small buildup early is far easier than scraping a whole roof later. Roof cleaning and gutter cleaning go hand in hand, so it makes sense to do both in the same visit.
Common mistakes that cause cracked tiles, broken slates and leaks
If you want to avoid turning a simple job into a repair callout, avoid these:
- Scraping upwards against the tile or slate overlap
- Working on wet or frosty days
- Using ladders badly positioned and leaning on gutters
- Trying to “finish the job” by rinsing with high pressure
- Forgetting gutters and valleys, then wondering why damp appears later
What does moss removal cost?
It depends on access, roof size, the covering, and how bad the buildup is. A single-storey rear slope with light growth is a very different job to a steep two-storey slate roof that needs scaffolding. For a full breakdown, read our guide to how much it costs to remove moss from a roof.
Trying to save money by doing it yourself can end up costing more if the roof gets damaged in the process.
When to call a roofer instead of DIY
Call a roofer if any of this applies:
- The roof is steep, high, or you can’t reach safely
- Moss is packed into valleys or around chimneys
- You already have slipped or cracked tiles or slates, or other visible defects
- The covering is old or fragile, or the slate is thin and weathered
- You suspect the moss roots have worked under the tiles or slates
- Gutters are blocking with moss again and again
- You’re seeing damp patches inside
- You want it cleaned properly without taking chances
DIY is fine for a small patch you can reach safely. Everything else, stop being a hero and book a proper moss removal service instead. We cover London, Surrey, Berkshire, Buckinghamshire, Oxfordshire and Hampshire, so if you are not sure what you are looking at, we will come and give you a straight answer before it gets worse.
Want moss removed without damaging your roof?
Alliance Roofing & Building remove moss by hand from tile, slate and flat roofs, clear gutters and valleys properly, then apply a roof-safe treatment to help prevent regrowth. If you want it done carefully, not rushed, get in touch for a quote.